
Author: Written by a pet product reviewer with 10 years of hands-on testing experience
Updated: July 14, 2026
Quick Answer
To teach a dog to heel on leash, start in a quiet place with a 4- to 6-foot leash, high-value treats, and a clear cue such as “heel.” Keep your dog on one consistent side, reward them when their shoulder stays near your leg, and stop or change direction when they pull ahead. Begin with short indoor sessions, then slowly add turns, stops, outdoor practice, and real-world distractions.
The most reliable heel training method for beginners is reward-based: mark the correct heel position, reward often at first, and gradually reduce treat frequency as your dog understands the behavior. Avoid leash jerks, punishment, retractable leashes, and training in busy environments too early. A standard leash, front-clip harness, treat pouch, and clicker can make dog heel training easier and more consistent.
Table of Contents
- Why Your Dog Won’t Heel on Leash
- What Does “Heel” Mean in Dog Training?
- Before You Start Heel Training
- Method 1: Teach Heel With Treats and Positioning
- Method 2: Teach Heel With Stops, Turns, and Resets
- Common Heel Training Mistakes
- Best Tools for Teaching a Dog to Heel
- How Long Does It Take to Teach a Dog to Heel?
- FAQ
- Key Takeaways
- Sources and Further Reading
Why Your Dog Won’t Heel on Leash
If your dog pulls, zigzags, sniffs every mailbox, or walks three steps ahead of you, they are not being stubborn for the sake of it. Walking in a clean heel position is not natural dog behavior. Dogs move faster than humans, explore through scent, and often find the outside world more rewarding than the person holding the leash. That is why “how to teach a dog to heel on leash” is one of the most useful skills a new dog owner can learn.
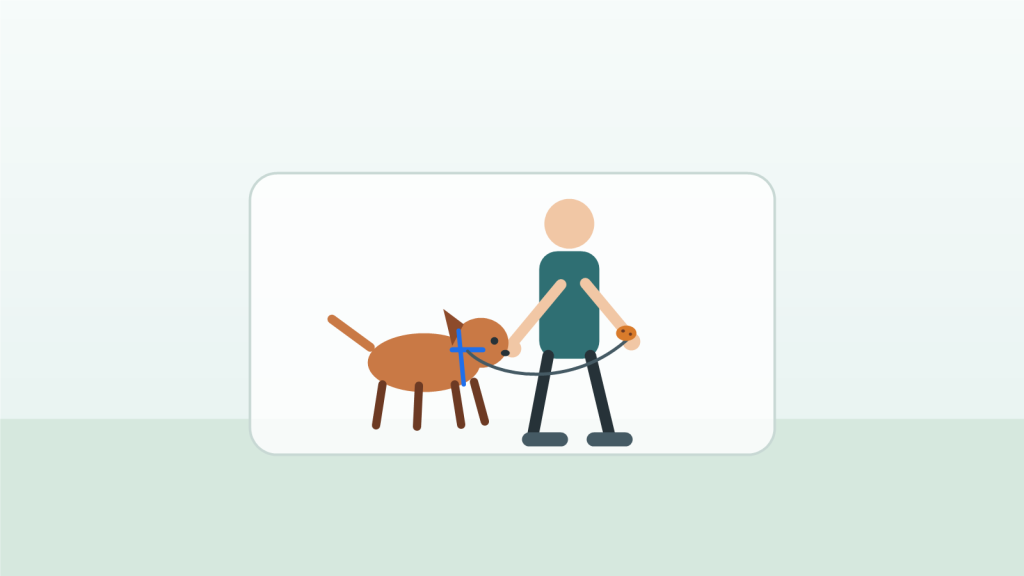
After testing leashes, harnesses, collars, treat pouches, and training tools for more than a decade, I have learned one thing: gear can help, but gear does not teach the behavior by itself. A good leash gives you control. A good harness can reduce pulling pressure. A treat pouch improves reward timing. But the actual heel command comes from repetition, clarity, and rewards your dog truly cares about.
Heel training teaches your dog to walk beside you, usually with their shoulder near your leg, without pulling on the leash. It is especially helpful near traffic, in crowded neighborhoods, at the vet, around other dogs, and during obedience training. It is also different from casual loose leash walking. Loose leash walking means your dog can explore as long as the leash stays relaxed. Heel is more structured: your dog stays close, attentive, and aligned with your pace.
The biggest mistake beginners make is expecting a dog to heel during a full neighborhood walk before the dog understands the heel position. A better approach is to teach the behavior in tiny pieces. Start indoors. Reward one or two correct steps. Add distance slowly. Then practice outside when your dog has a clear idea of what “heel” means.
What Does “Heel” Mean in Dog Training?
In dog training, “heel” means your dog walks beside you in a controlled position. Traditionally, dogs heel on the left side, especially in obedience settings, but pet owners can choose the left or right side. The important part is consistency. If you teach heel on the left side today and allow the dog to cross in front of you tomorrow, the cue becomes muddy.
A proper heel position usually includes three things: your dog is beside your leg, the leash is loose, and your dog is paying enough attention to follow your movement. The dog does not need to stare at you the entire time during normal pet training, but they should be aware of your pace, turns, and stops.
For everyday owners, heel is best used as a focused walking skill rather than a full-time walking requirement. I like to think of it as a “control mode” for your dog. Use heel when crossing a street, passing another dog, moving through a crowd, entering the vet clinic, or walking through a parking lot. Then release your dog to sniff and relax when it is safe.
This distinction matters because many beginners confuse heel training with loose leash walking. Loose leash walking allows your dog more freedom. Heel keeps your dog in a specific position. Both skills are valuable. If your dog pulls hard, you may need to train both: loose leash walking for relaxed everyday walks and the heel command for moments that require precision.
Before You Start Heel Training
Before you teach a dog to heel on leash, set up the session so your dog can succeed. Choose a quiet room, hallway, driveway, backyard, or low-distraction sidewalk. Do not begin in a busy park, pet store, school pickup line, or crowded trail. Distractions make the early stage much harder than it needs to be.
Use small, soft, high-value treats. For many dogs, regular kibble is not exciting enough outside. Tiny pieces of chicken, cheese, freeze-dried liver, or soft training treats usually work better. The reward should be easy to chew quickly so your dog can return to walking.
Pick one heel side. Left is traditional, but right is fine if that works better for your body, walking route, or handling style. Choose one verbal cue, such as “heel,” “close,” or “with me.” Say it once, then help your dog get into position. Repeating “heel, heel, heel” teaches your dog that the first cue does not matter.
Keep sessions short. Five minutes of clean practice is better than 25 minutes of pulling, frustration, and mixed signals. Puppies, adolescent dogs, rescue dogs, high-energy breeds, and reactive dogs may need even shorter sessions. The goal is not to drain your dog. The goal is to build a behavior your dog can repeat with confidence.
Finally, use appropriate walking gear. A 4- to 6-foot leash is easier to manage than a retractable leash. For strong pullers, a well-fitted front-clip harness can reduce forward momentum and protect the neck. If your dog has breathing issues, neck pain, injury history, or severe reactivity, ask a veterinarian or qualified force-free trainer for guidance before beginning a new training plan.
Method 1: Teach Heel With Treats and Positioning
This is the simplest method for beginners because it shows your dog exactly where to be. You are not waiting for the dog to guess. You are creating the heel position, rewarding it, and then attaching the heel command to that position.
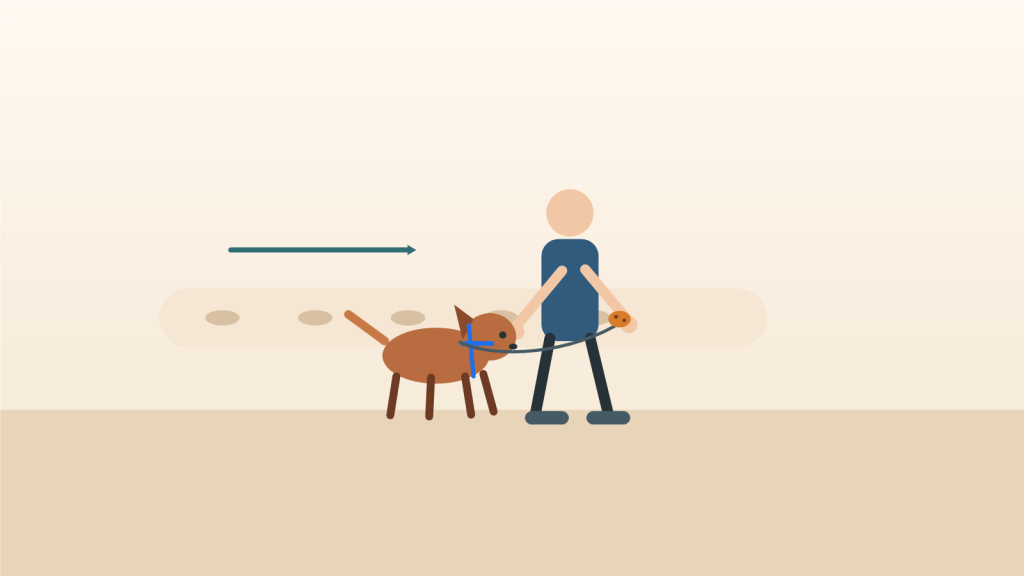
Step 1: Start With Your Dog Beside You
Stand still with your dog on your chosen side. Hold the leash in the hand opposite your dog and keep treats in the hand closest to your dog’s nose. The leash should be short enough to prevent wandering but loose enough that you are not dragging the dog into place.
Step 2: Mark the Heel Position
When your dog’s shoulder lines up near your leg, say “yes” or click your clicker, then give a treat at your pant seam. Rewarding at your side is important. If you feed the treat in front of your body, many dogs will drift forward. If you feed behind you, they may lag. Feed where you want the dog’s head and shoulder to be.
Step 3: Add the Cue
Say “heel” once, then take one step forward. If your dog stays beside you, mark and reward immediately. At the beginning, one good step is enough. Beginners often rush to 20 steps and lose the dog’s focus. Build the behavior like a staircase: one step, two steps, three steps, then five.
Step 4: Use a Lure, Then Fade It
You can hold a treat near your dog’s nose for the first few repetitions, especially with puppies. This lure helps your dog understand the position. But do not keep the treat glued to your dog’s nose forever. After a few successful attempts, move the treat hand slightly higher, then reward from your pouch. The goal is for your dog to follow the cue and your body position, not chase food.
Step 5: Practice Short Straight Lines
Walk five to ten steps in a quiet area. Reward every few steps while your dog stays aligned with your leg. If your dog moves ahead, calmly reset. Bring them back beside you and start again. Do not yank the leash. Do not scold. The cleanest training comes from showing the dog where the reward happens.
Step 6: Add a Release Word
A release word tells your dog when heel is finished. Common options include “okay,” “free,” or “go sniff.” This makes the heel command clearer because your dog learns there is a beginning and an end. For everyday walking, this is extremely useful. You can ask for heel near traffic, then release your dog to sniff when the situation is safe.
Step 7: Increase Difficulty Slowly
Once your dog can heel for 10 to 15 steps indoors, move to a driveway or quiet sidewalk. Then add mild distractions, such as a parked car, a familiar person, or a low-traffic street. If your dog cannot focus, the environment is too hard. Go back one level and rebuild success.
Method 2: Teach Heel With Stops, Turns, and Resets
The second method is useful for dogs that pull ahead, forge forward, or forget you exist once the walk begins. Instead of pulling your dog back, you teach them that leash tension does not move the walk forward. A loose leash and correct heel position make the walk continue.
Step 1: Begin Walking in a Low-Distraction Area
Start with your dog on your chosen side. Say “heel” and move forward. Keep your pace relaxed. If your dog stays beside you, praise and reward. If your dog rushes ahead, do not speed up to match them.
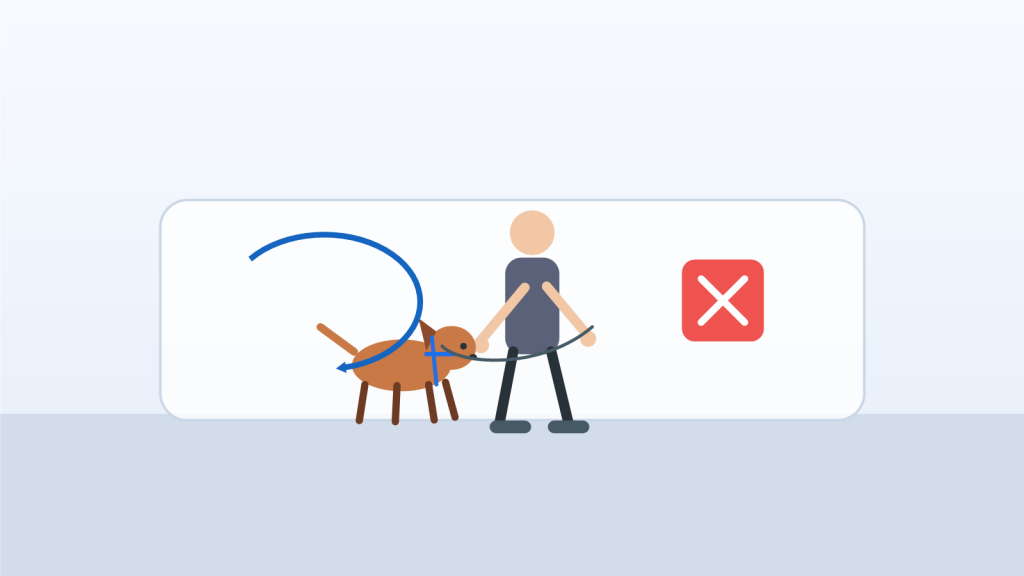
Step 2: Stop When the Leash Gets Tight
The moment your dog pulls, stop walking. Stay calm and still. Do not jerk the leash backward. Wait for your dog to look back, step toward you, or release the pressure on the leash. When the leash becomes loose, mark the behavior and reward near your leg.
Step 3: Reset the Heel Position
Guide your dog back beside you with your voice, body movement, or a treat. When your dog is in position, say “heel” and move forward again. This teaches a clear pattern: pulling stops the walk, returning to heel restarts the walk.
Step 4: Change Direction Before Your Dog Pulls
Turns are one of my favorite heel training tools because they make you more interesting. Walk a few steps, then turn left, right, or make a gentle U-turn. Reward your dog when they notice and follow you. This builds focus and keeps your dog from locking onto the next smell, squirrel, person, or dog ahead.
Step 5: Reward Check-Ins
A check-in is when your dog looks at you or adjusts their pace to stay near you. Mark and reward these moments. Many owners only react when the dog makes a mistake. Better training happens when you catch the dog doing the right thing.
Step 6: Add Real-World Distractions Carefully
Once your dog can heel in easy places, practice near mild distractions at a distance. A dog across the street is easier than a dog five feet away. A quiet sidewalk is easier than a Saturday market. If your dog becomes overexcited, increase distance and lower the difficulty.
Step 7: Mix Heel With Loose Leash Walking
Do not ask most pet dogs to heel for an entire 30-minute walk. That can be mentally tiring and unrealistic. Instead, use short heel intervals. Ask for heel for 10 to 30 seconds, reward, then release your dog to walk on a loose leash or sniff. This keeps the behavior useful and fair.
Common Heel Training Mistakes Beginners Make
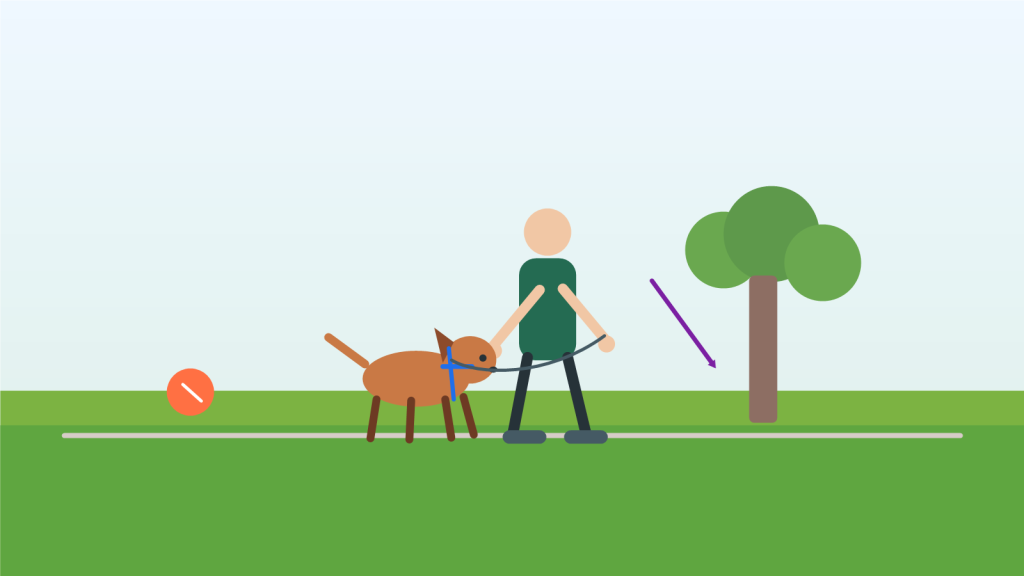
The first common mistake is using the leash as the main teaching tool. A leash should prevent unsafe movement, not constantly drag the dog into position. If your dog only heels when you physically hold them there, they have not learned the heel command yet.
The second mistake is training in a place that is too exciting. A beginner dog may heel beautifully in the kitchen and fall apart outside. That does not mean the dog is disobedient. It means the training has not been generalized to harder environments.
The third mistake is rewarding too late. Timing matters. If your dog is beside your leg for two seconds, then forges ahead, and you reward after they pull, you may accidentally reward the wrong position. Mark the correct moment quickly, then deliver the treat at your side.
The fourth mistake is using low-value rewards. In product testing, I have seen owners spend money on premium leashes while using dry biscuits their dog barely likes. For heel training, the reward must compete with the environment. Outdoors, that often means better treats.
The fifth mistake is expecting heel and sniffing at the same time. Heel is focused. Sniffing is exploratory. Both are healthy, but they are different modes. Use a release cue so your dog knows when structured walking is over.
Best Tools for Teaching a Dog to Heel
As a long-time pet product reviewer, I look at heel training tools through one practical question: does this product make the behavior easier to teach without causing unnecessary stress or discomfort? The best setup is simple, humane, and easy for the average owner to use consistently.
1. A 4- to 6-Foot Standard Leash
A standard leash gives you better timing and control than a retractable leash. For dog heel training, I prefer a leash that feels comfortable in the hand, has strong stitching, and is not too heavy for the dog’s size. A 6-foot leash is versatile for most sidewalks, while a 4-foot leash can be useful in crowded areas.
2. A Front-Clip Harness
For dogs that pull hard, a front-clip harness can help redirect forward motion. It is not a magic fix, but it can make training safer and more manageable. Look for a harness with adjustable straps, a secure chest fit, and no rubbing behind the front legs. Avoid gear that works mainly by pain or intimidation.
3. A Flat Collar
A flat collar can work for dogs that already walk calmly. It is not my first choice for strong pullers, small dogs with delicate necks, or dogs with respiratory concerns. If you use a collar, make sure it fits properly and does not put constant pressure on the throat during training.
4. High-Value Training Treats
Good treats are one of the most underrated heel training tools. Choose soft, small treats your dog can swallow quickly. The treat should be exciting enough to hold attention but small enough that you can reward often without overfeeding. For dogs with food sensitivities, use veterinarian-approved options.
5. A Treat Pouch
A treat pouch improves timing. If you have to dig through a plastic bag every time your dog hits heel position, you will miss the moment. The best treat pouches open with one hand, close securely, and sit comfortably at your waist.
6. A Clicker
A clicker is optional, but it can sharpen communication. The click marks the exact second your dog is in the correct heel position. If you do not want to use a clicker, a consistent marker word like “yes” can work well.
Product Recommendation Angle
If you are building a product section for affiliate or review content, the most natural product keywords are “best leash for heel training,” “best harness for dogs that pull,” “best dog training treats,” “dog training treat pouch,” and “clicker for dog obedience training.” Keep the product recommendations tied to the training problem. Readers do not just want products; they want their dog to stop pulling and walk beside them.
How Long Does It Take to Teach a Dog to Heel?
Many dogs can understand the basic heel position within a few days of short practice sessions. Reliable heel on leash usually takes several weeks. For some dogs, especially adolescent dogs, high-drive breeds, rescue dogs, or reactive dogs, it may take longer.
A realistic plan is five to ten minutes per day, four to six days per week. Spend the first week indoors or in quiet areas. Spend the next few weeks adding distance, turns, stops, and outdoor distractions. Do not measure progress only by perfect walks. Measure progress by smaller wins: your dog checks in more often, pulls less intensely, returns to your side faster, or can heel past a mild distraction.
If your dog lunges, growls, panics, or cannot take food outside, you may be dealing with fear, frustration, overarousal, or reactivity rather than a simple leash manners issue. In that case, work with a certified professional trainer or veterinary behavior professional who uses humane, reward-based methods.
FAQ
How do I teach my dog to heel on leash?
Start in a quiet area. Place your dog beside your leg, say “heel,” take one or two steps, and reward your dog when they stay close without pulling. Gradually increase the number of steps, then add turns, stops, and distractions.
Should my dog heel on the left or right side?
Traditionally, dogs heel on the left side, but family dogs can heel on either side. Choose the side that works best for you and stay consistent.
What is the difference between heel and loose leash walking?
Heel means your dog walks in a specific position beside your leg. Loose leash walking means your dog has more freedom as long as the leash stays relaxed. Most pet dogs benefit from learning both.
Can I teach a puppy to heel?
Yes. Puppies can learn the basics of heel training, but sessions should be short, positive, and age-appropriate. Focus on position, attention, and rewards rather than long formal heeling.
Can an older dog learn to heel?
Yes. Older dogs can learn the heel command with patient, consistent training. You may need more repetitions if the dog has practiced pulling for years.
Why does my dog keep pulling during heel training?
Your dog may be excited, distracted, under-rewarded, or used to pulling to reach things. Train in easier environments, reward correct position more often, and stop moving forward when the leash gets tight.
Can I teach heel without treats?
You can, but treats make the learning process much easier for most beginners. Over time, you can mix in praise, toys, access to sniffing, and real-life rewards.
Key Takeaways
- Heel training teaches your dog to walk beside you on leash without pulling.
- The easiest beginner method is to reward the correct heel position with high-value treats.
- Start indoors or in a quiet area before practicing around distractions.
- Use one consistent cue, such as “heel,” and one consistent walking side.
- A 4- to 6-foot leash is better for heel training than a retractable leash.
- A front-clip harness can help manage dogs that pull strongly.
- Heel is more structured than loose leash walking; most dogs should learn both.
- Stop, turn, and reset when your dog pulls ahead instead of jerking the leash.
- Short daily sessions are more effective than occasional long sessions.
- For reactivity, fear, or aggressive behavior, work with a qualified reward-based professional.